 The kids may be back at school but the summer sun, the heat, is still going strong; making it a fitting time for crafts and projects. In as little as one day, the daughter and I added a stunning do-it-yourself bird feeder to the yard that is more than just a bird feeder, it’s an eye-catching art piece that adds magic and whimsy to our yard. In a few simple steps you can have one of your own!
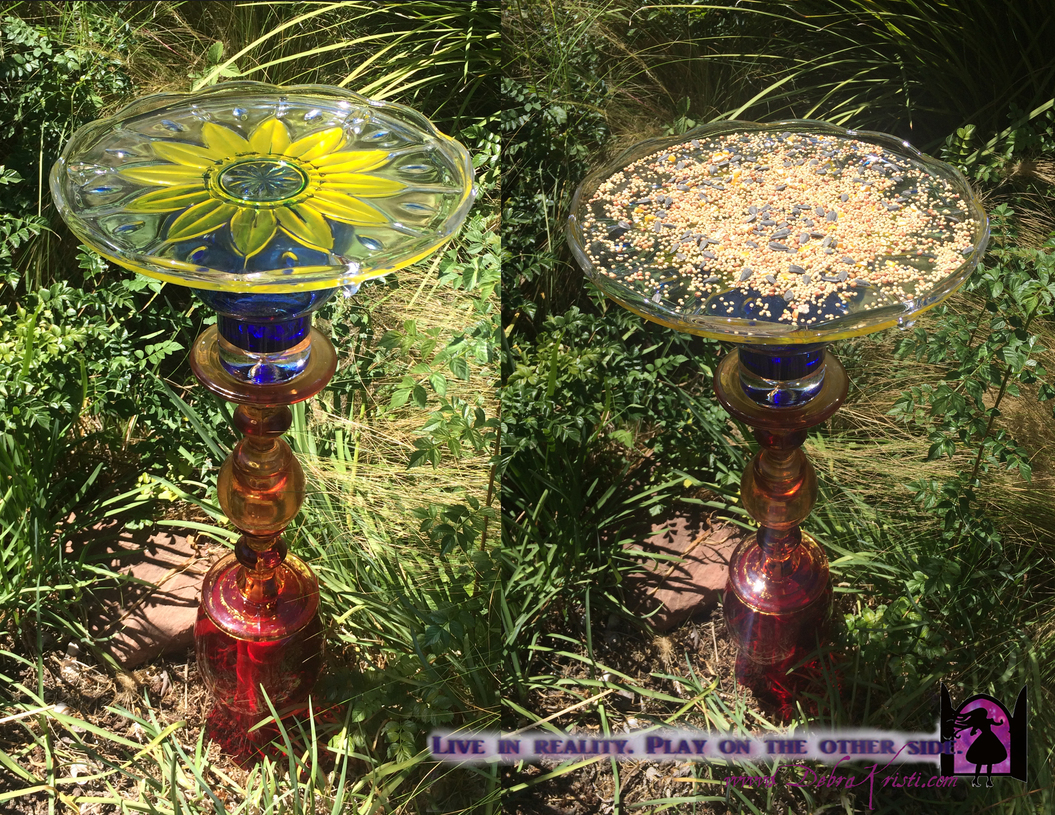
This dazzling addition to your garden can be created as either a bird feeder or a bird bath. It’s entirely up to you and the pieces you choose.
You will need:
- Several unique glass pieces. They can be vases, candle stick, bottles, whatever fits your fancy and stacks nicely. They can all be different colors, patterns, or all the same. You are the designer, follow your whimsy.
- One large plate or large shallow bowl
- Glass glue: I used Loctite Glass Glue and Loctite GO2 Gel
- PVC pipe
- PVC pipe cutter
- Rubber mallet
- Bird seed
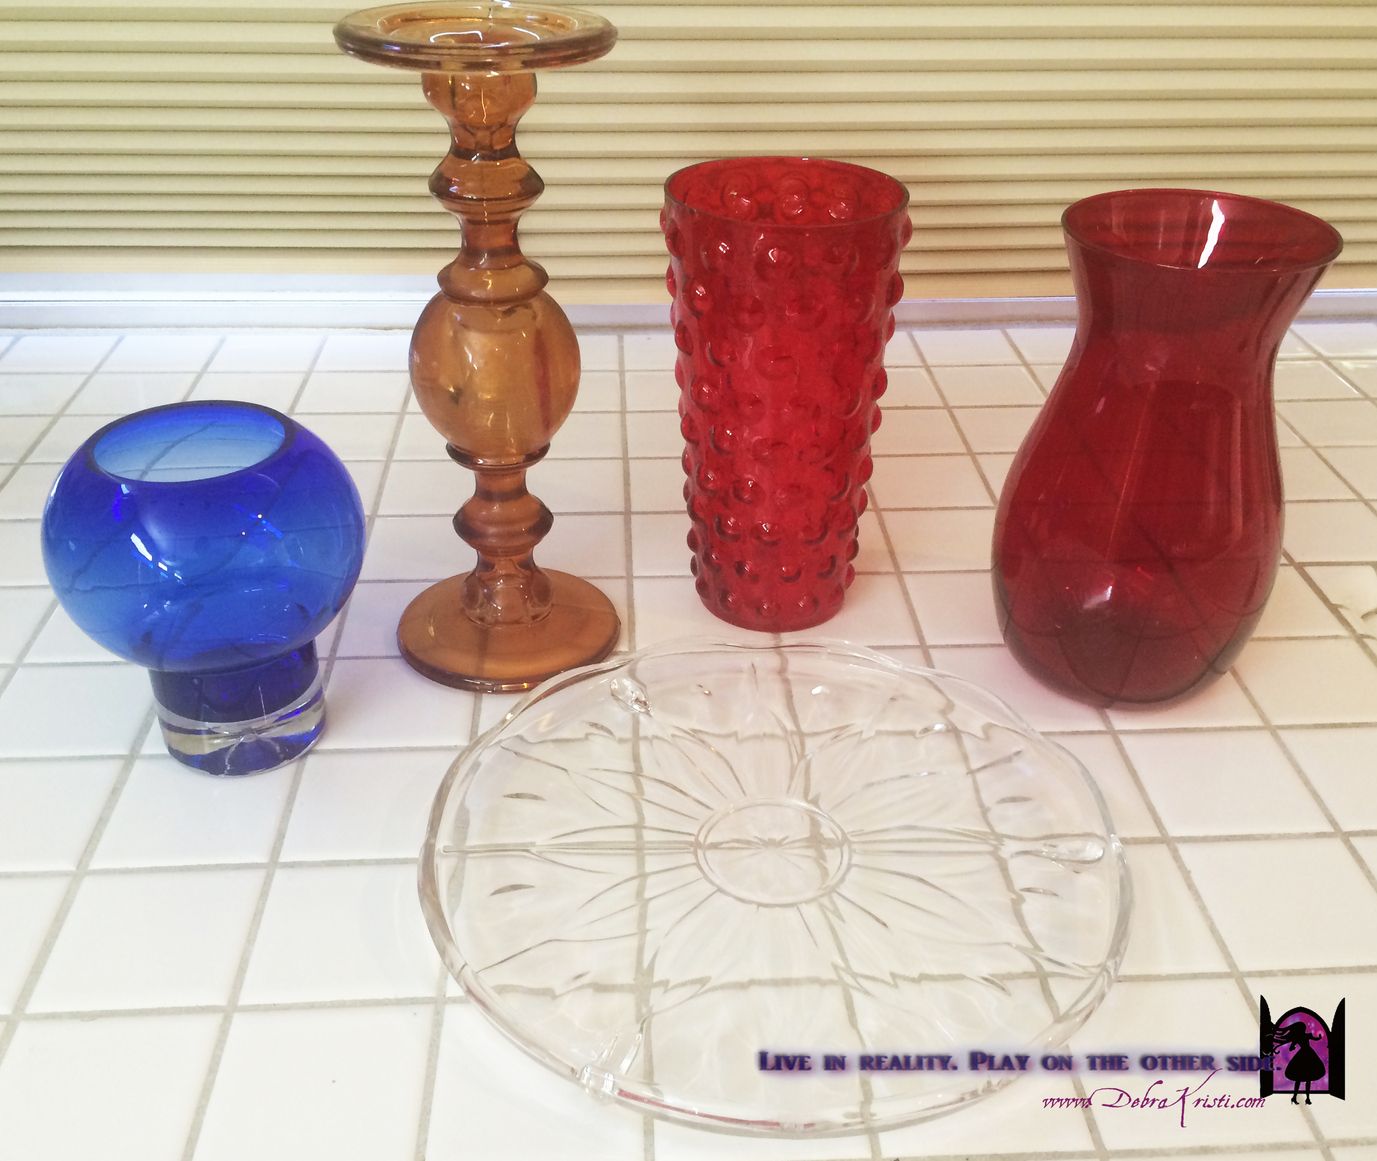 First things first. Find the glass pieces you want to show case in your garden. Remember, they are going to look fabulous regardless of cost. You don’t have to spend a lot of money. These can, and should, be things you either already have hidden around the house, pick up at the thrift store, or score at a garage sale. We got ours from a local thrift store. There was nothing random in our selection. We tested the pieces before purchase to see how each one fit against the other.
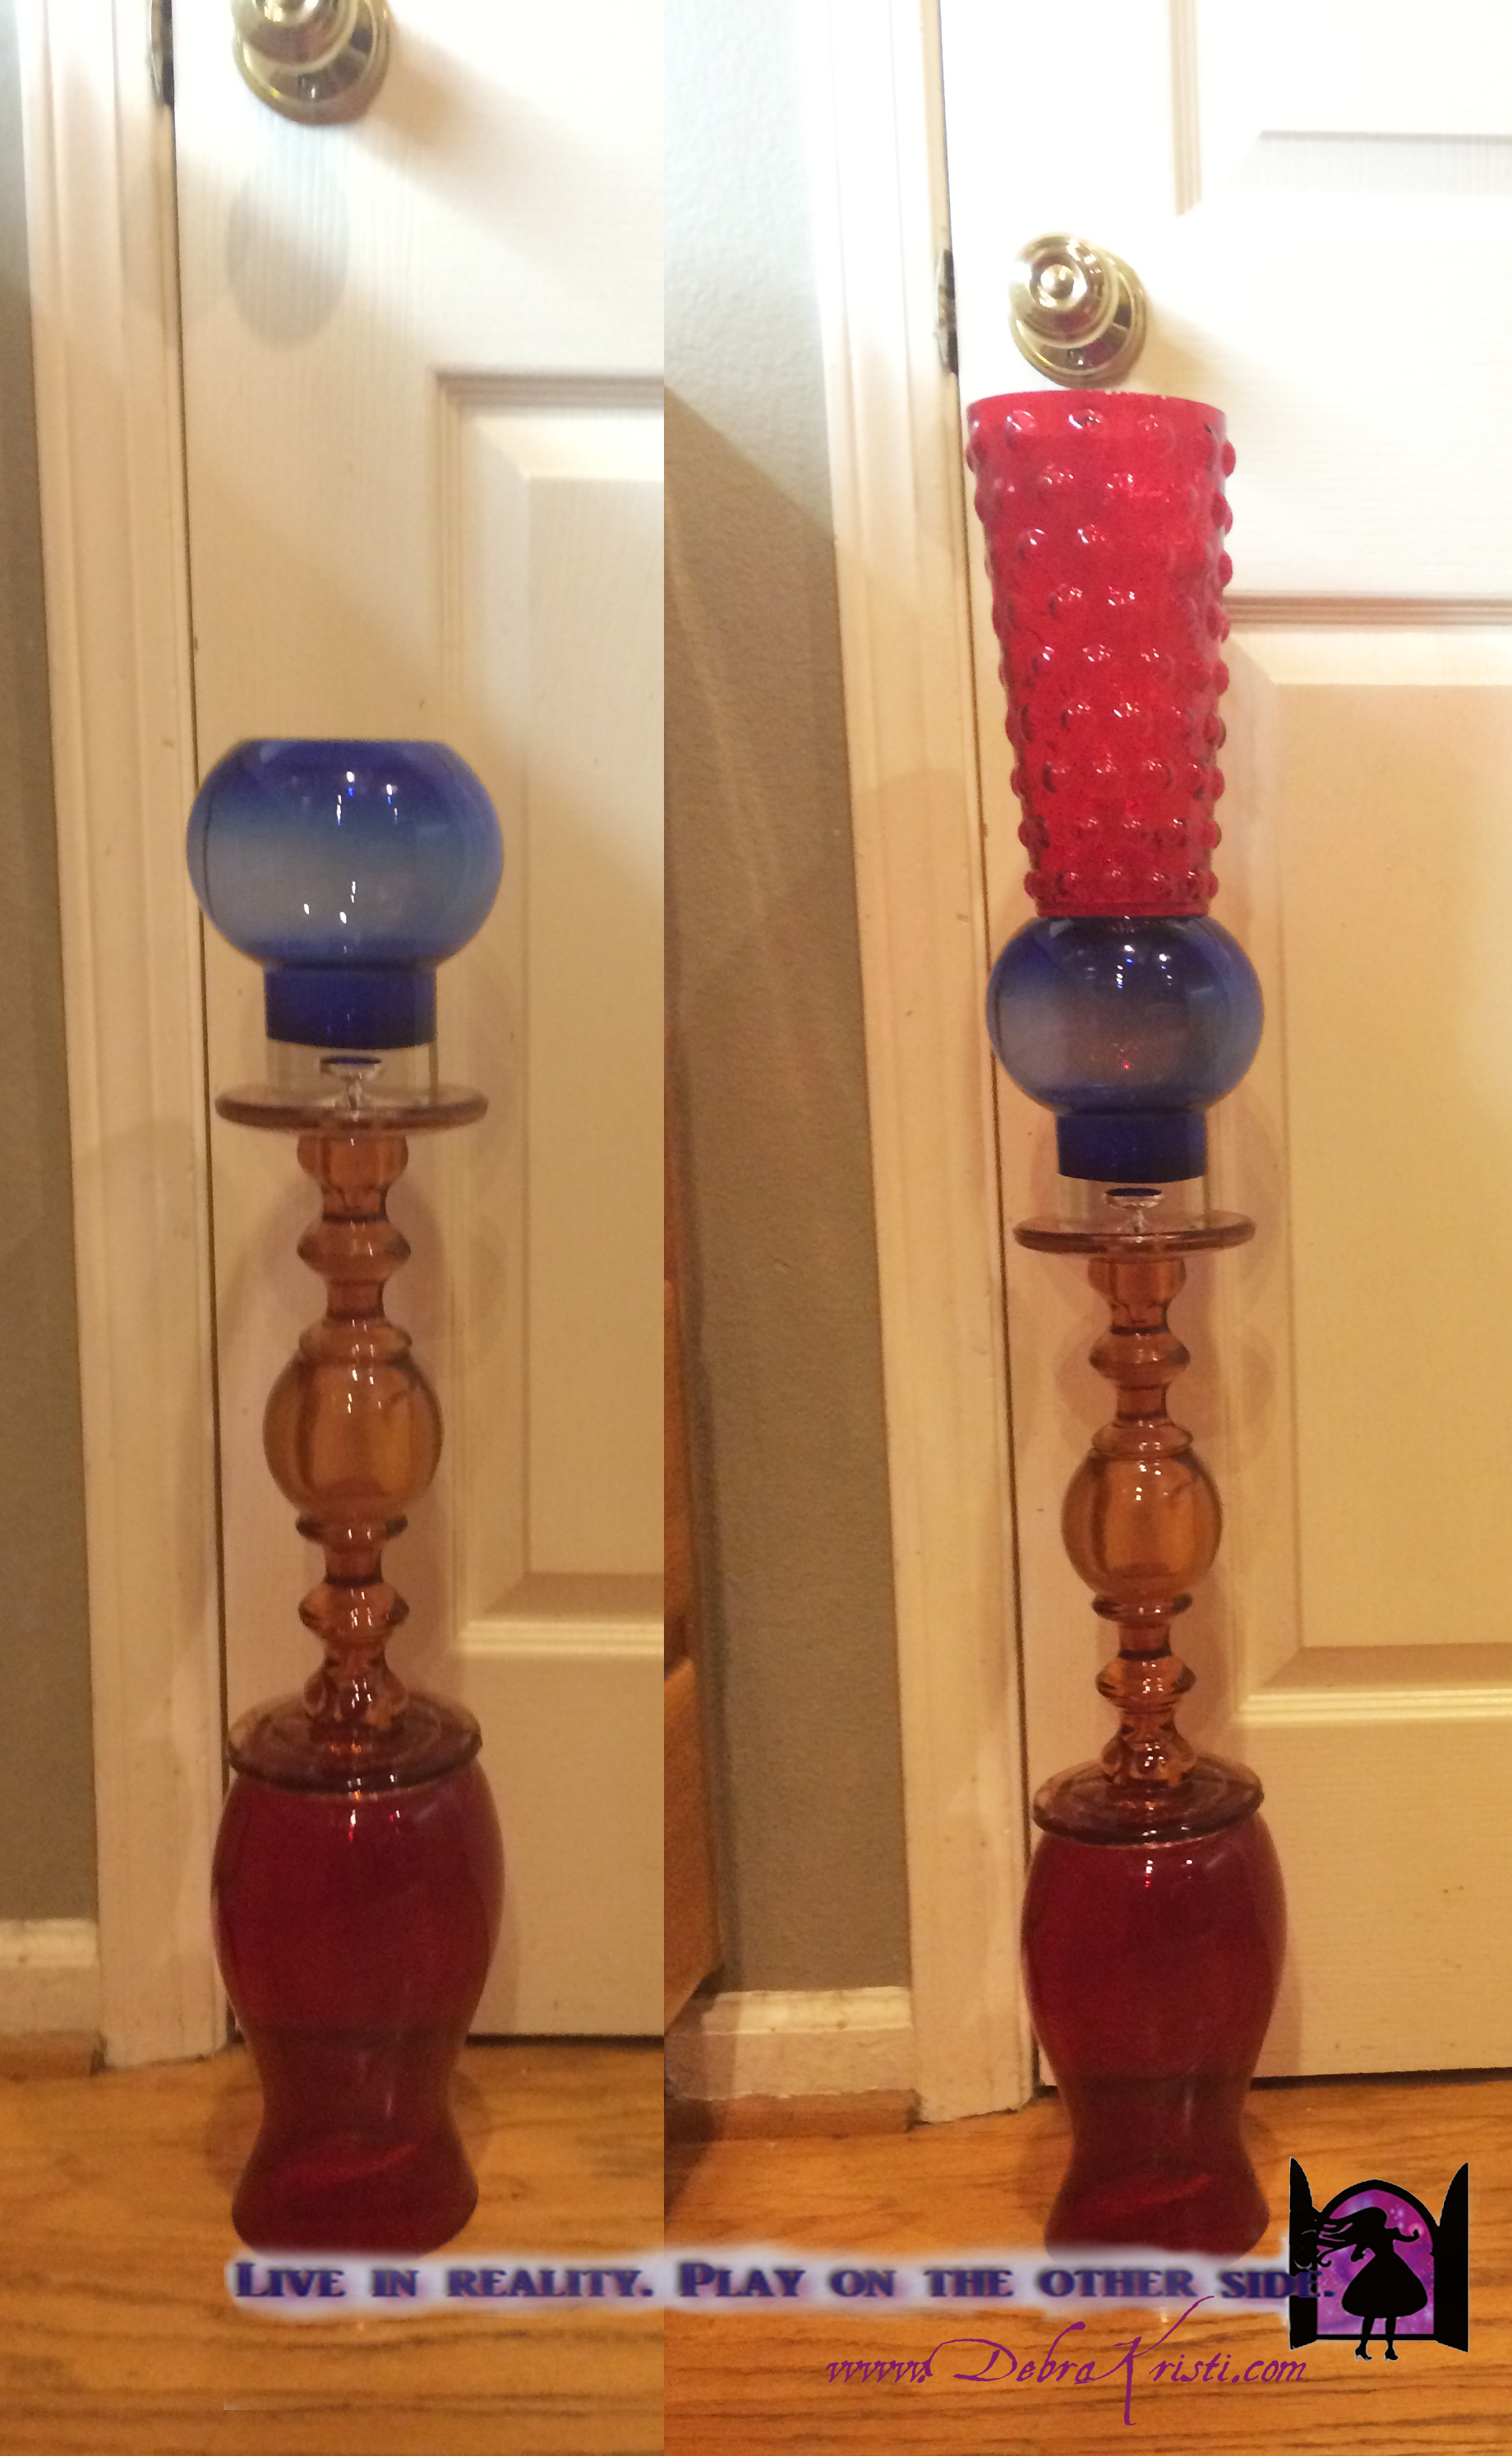
We picked four pieces plus a platter for the top. Once home, we verified the staking and height before proceeding. As you can see from the pictures, the four pieces together make for a rather tall piece. This could work, but we decided to nix one piece and go for something a bit shorter, bringing the total measurement equal to our small bistro table. We considered that an ideal height.
 Once you have determined your final pieces and the order they will go in, wash everything – thoroughly.
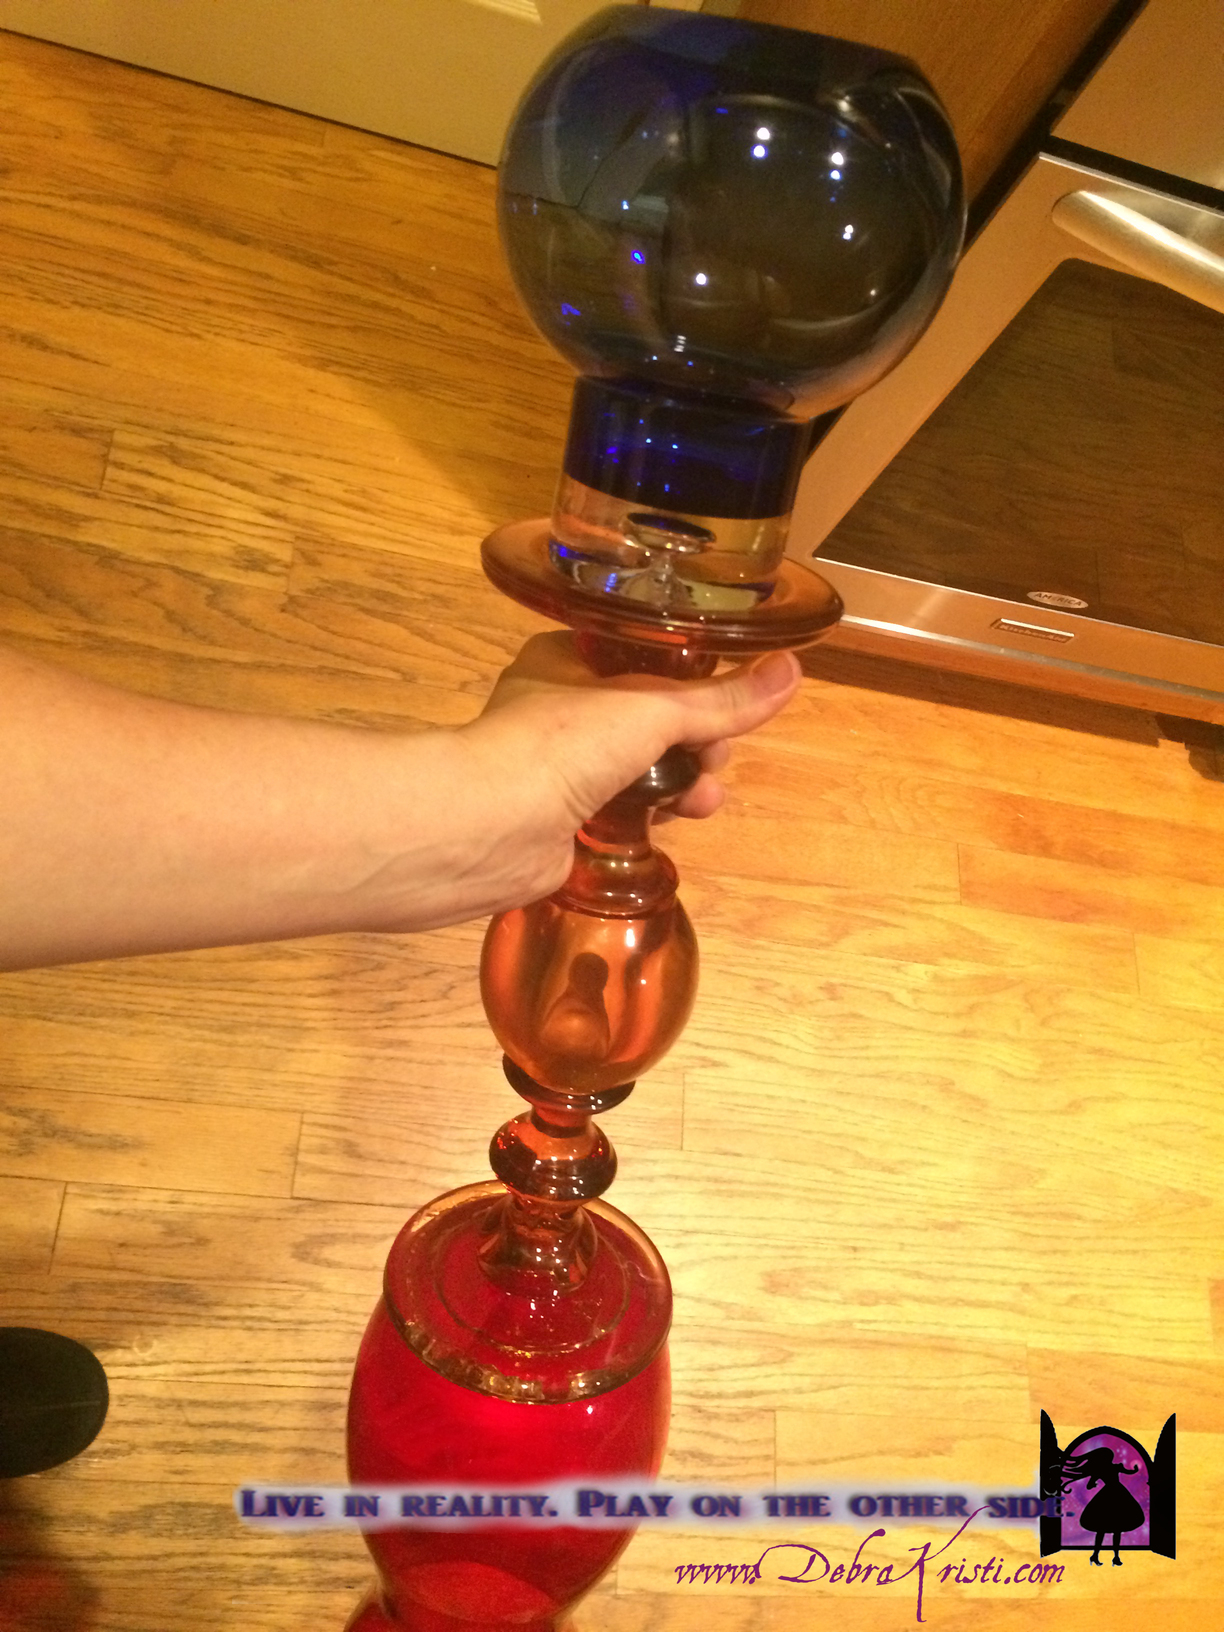
When clean and dry, begin gluing!
- If two pieces have a nice snug fit, their surfaces flat and touching firmly together, the Loctite Glass Glue should work fine, giving you an instant mold between the two.
- If two pieces have a bit of give or wiggle, then the Loctite GO2 Gel and a few hours to firm the hold is your best bet.
When the gluing process is done, you’ll have a sturdy glass post you can pick up and move without worry.
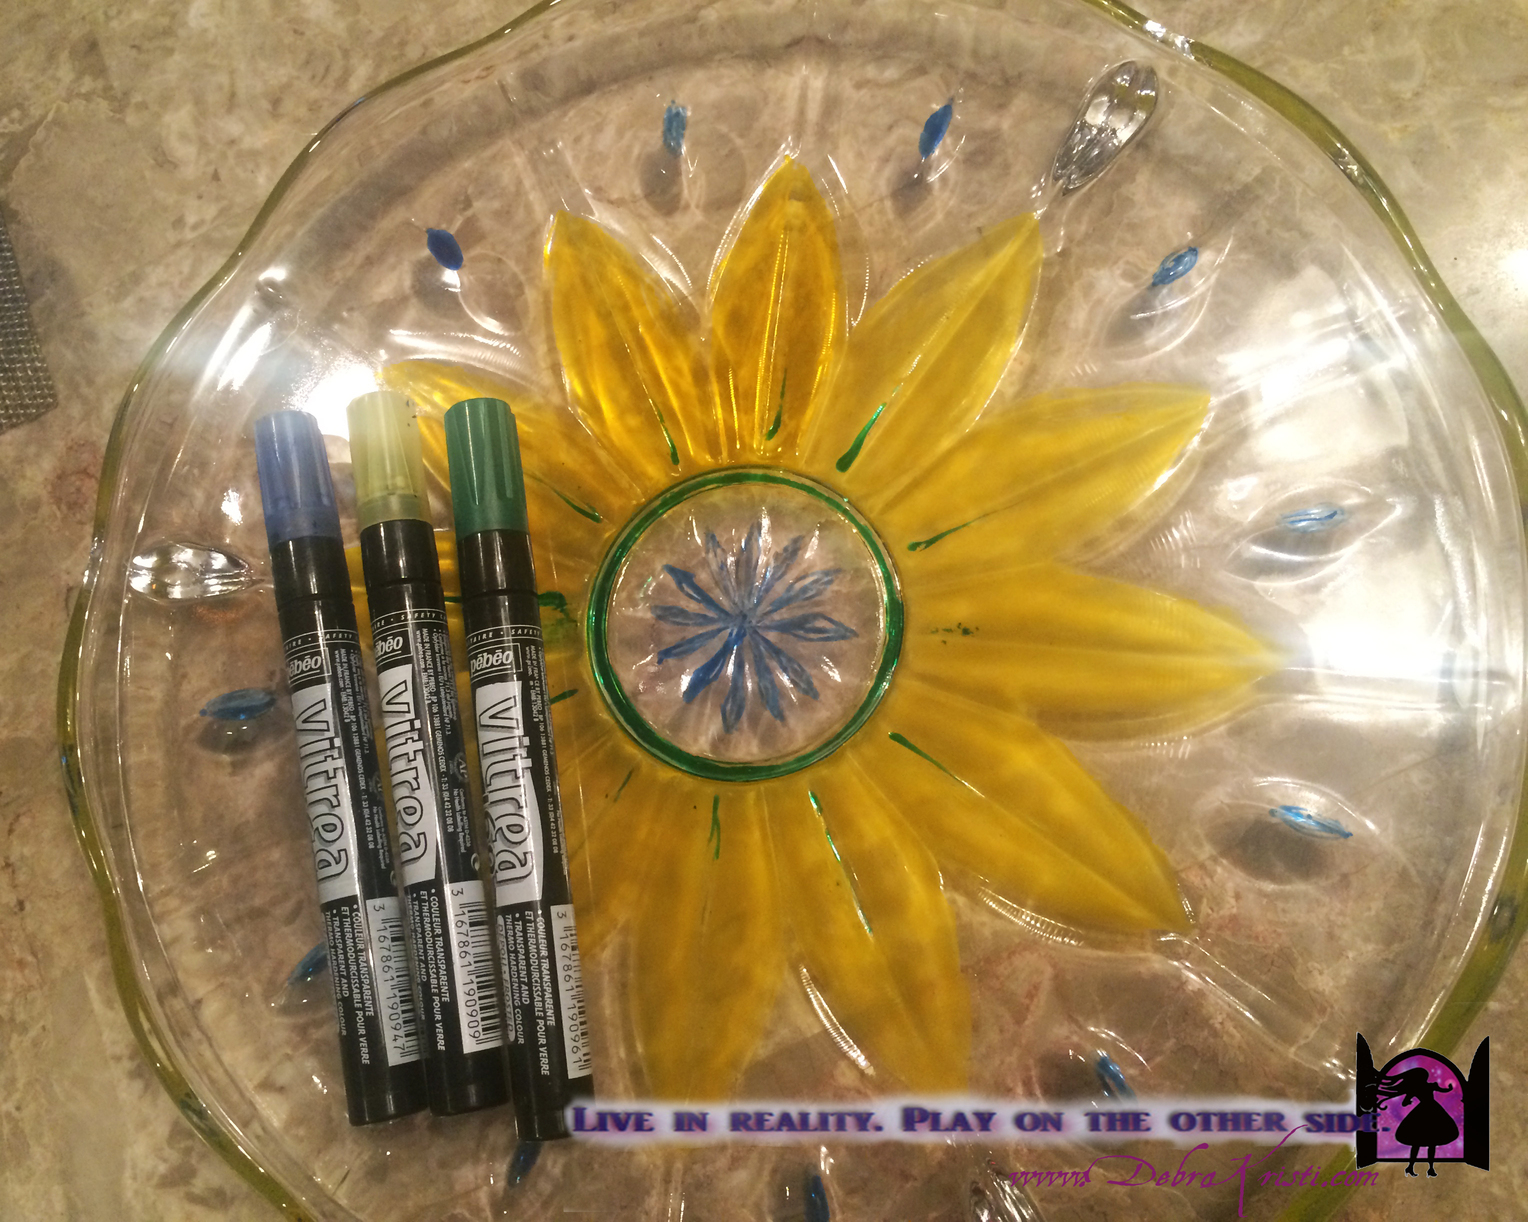
 For our project, the top plate had a beautiful floral pattern in the glass. We decided to enhance the design by adding a little color. You can do the same on any of your pieces. If you don’t mind a little imperfection, this is a great project for your kid. Using glass paint pens, color your design and then cure in the oven at 350 degrees for fifteen to twenty minutes. Once your piece is beautified, cured, and cooled, you can glue it to the post, completing the bird feeder/bath design.
 Now that you have your gorgeous glass art bird feeder, you need to properly secure it in your yard. Once you have scouted out the ideal location to house your new creation, cut three pieces of PVC pipe using your pipe cutter. Make sure they are long enough to hammer firmly into the ground. My ground was soft where we placed ours so it took long pieces. You also want the pieces to extend far enough into your bottom glass piece to make it sturdy and secure. Ideally, place the PVC pipes to coordinate with the opening width, creating a snug fit. Using the rubber mallet, hammer the PVC pipe into the ground.
You’re ready! Slide your new bird feeder into place! Last step: add the bird feed, back away and wait. It didn’t take long for the birds to discover the new food source in our yard. Now it’s your turn.
 I’m rather eclectic and like a little bit of everything: glass, stone, wood, etc. What kind of things do you like to decorate your yard with? Do you enjoy visits from our feathery friends?
.☆¨¯`*★。。☆¯`*★..
I’m a mother, a fantasy author, and sometimes DIY home decorator. Watch the blog, going forward, as we take a new direction. My true direction—my messy life. Living every day in reality and making time to play on the other side, bringing bits of whimsy into normalcy.


Wow – what a great idea. I love it! You are so creative.
Fun stuff. I didn’t even know there were such things as glass glue and glass paint pens. The things I’m learning today.
Patricia Rickrode
w/a Jansen Schmidt
Patricia recently posted…That’s A What?
So glad you like this idea, Patricia. Something like this could look fabulous in your new garden. 😉
Hi Debra! It sounds like you made it through summer. And what a great project. Just beautiful. I love the idea of different shapes of glass and they way you added a personal touch paining the glass plater. Lovely idea. Hope all is well with you and the family. ((Hugs)) 🙂
Lovely to ‘see’ you! How have you been? We did survive, and getting back to the early rise has gone smoother than I anticipated. Thanks so much for your beautiful complement. Glad you enjoyed the idea. And thanks so much for the tweet! {{{Hugs}}}
Very pretty! Nice job. I will have to remember this one day if I ever decide to ‘landscape’ more than just mowing the lawn and setting a pot of petunias on my porch. 🙂
You could place your fabulous design right next to your pot of petunias. 😉 OR…if it’s a BIG pot, in the pot of petunias! See how I did that? *grin* The little one and I have recently decided to hang more with the garden fairies so we are working to make our yard space more inviting. An extension of the home.
I love this idea, Debra! Yours is gorgeous. Now I need to make one of my own!
So glad you love this! It’s easy to do. My thrift store bulks the glass together by color. I simply went to each section looking for unique pieces that would work well together. You can also pick up a bunch of clear glass pieces and color them to your liking. The bird activity has been delightful since we placed ours in the yard. Funny little birds haven’t let us get a picture yet, though. Have fun with yours and make sure to share a picture with us when you’re done. I can’t wait to see what you come up with! Thanks for stopping by.
Wonderful! I am posting it to my Facebook page…
Awesome! Thanks, Scott. Glad you like this post. 🙂
That’s a really unique and really pretty bird feeder. I love the idea to keep it in place with PVC pipe. Now I’ve just got to figure out how I’d keep the neighborhood cats off of it! Very beautiful, great job!
Thank you, Jenn. Your timely is perfect, coming in after my ‘seriously fat bird and hunter cat’ experience. 😀 Make sure your PVC extends deep into the ground and that you use enough of make the vase nice and snug when you fit it over the top. Then, I might suggest the added insurance of a gorilla glue between the vase and pipe at the base. If you want to create a cover over your food dish, let your imagination go wild. Maybe a few tall and thin shot-glasses strategically placed around the rim can work as columns and another dish or bowl of character can be placed on top. Just a thought.
I just love the idea of that DIY glass art bird feeder craft. It looks awesome and I hope daughter will love it, if I’m able to make it properly. If anymore instructions you’ve to make this bird feeder craft nicely, please share with me.
That’s a beautiful bird feeder that you made! I’m surprised that all the glass pieces were able to stay together with some glue, but I guess glass glue does the trick. It’s a beautiful piece of art, and it looks pretty simple to make. Thanks for the inspiration; I’ll have to try this out!
I love how eclectic this bird feeder is, I wonder if you could create this same post for a glass bird house. I have one and it would be such great jewelry for my yard. I will have to check vintage stores and online places to find just the right ones but your article has my creative ideas really inspired. Thank you.
Hey Debra,
What a cool idea there. That’s looks fun and interesting! Gotta try something similar with this too. Very inspiring! Thanks for sharing. Appreciate it!
Cheers,
Oliver
Hello I like your color combo!! I’ve made birdbath feeders…I looked up your glue. It does t say glass. You have never had an issue? I have used e6000 n now using clear silicone
What a lovely and creative idea! 🐦🖌️ Turning a bird feeder into a piece of glass art makes such a beautiful addition to any garden or outdoor space — and it gives kids and adults alike a chance to express their artistic side while doing something wonderful for nature. Projects like this are not only fun to make, but they also help attract local birds and give them a reliable food source, especially when natural foods are harder to find. Homemade bird feeders have long been a favourite craft for families and classrooms because they combine art, nature, and hands-on learning in such a meaningful way.
I also appreciate how this kind of craft can teach children about caring for wildlife and understanding bird behaviour, all while engaging their creativity. Seeing birds come to feed on something you’ve made adds that extra bit of joy to gardening and outdoor time.
Aca Baranton recently posted…How to remove tick from a dog